Friday, September 28, 2007


Install VNC on OpenSolaris DomU & Several options available


1.The nice (painless) one :-



The quote from posting above:-
"In the last entry I mentioned using VNC to access a Linux domU environment running on top of Solaris dom0.
It’s useful to do the same thing with a Solaris domU, either one running on a Solaris dom0 or a Linux dom0.
Here are the steps:
Get your Solaris domU virtual machine up and running. For the sake of this discussion, we’ll assume
that you install the full Solaris product for the guest domain. You can get by with less,but I’ve not tested VNC with that.
The instructions necessary can be found on the OpenSolaris on Xen website.
Install the basic Blastwave tools. The instructions are here. This should take all of thirty seconds.From Blastwave, install the vncserver package:


# /opt/csw/bin/pkg-get -i vncserver


The process will ask you some questions (I said "Yes" to all of them)
along the way -it will install some other required packages as it goes."


2.Follow the "Sun" :-


VNC on Solaris DomU & Two options available.


The nice (painless) one :-


Follow the "Sun" :-


Wednesday, September 26, 2007


Install VNC on Solaris DomU at CentOS 5 or Debian Etch Dom0 (64 bit)


This posting follows up [2] and gives step by step instruction how to
set up VNC on OpenSolaris DomU. In general everything seems to be already
told in [1], however as Linux person I can hardly imagine OpenSolaris
to compete Linux anywhere out of Enterprise Environment and at the same time
OpenSolaris might be not the best choice for Enterprise.


1.Enable sshd tcp port forwarding.

a) Configure the remote Solaris Secure Shell server to allow port forwarding.
Change the value of AllowTcpForwarding to yes in the /etc/ssh/sshd_config file.

# Port forwarding
AllowTcpForwarding yes

b) Restart the Solaris Secure Shell service.


# svcadm restart network/ssh:default


2.Install VNC (Tightvnc 1.3.9 for UNIX)
a)Download tightvnc-1.3.9_unixsrc.tar.gz from http://www.tightvnc.com/download.html
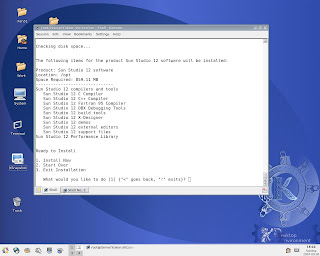
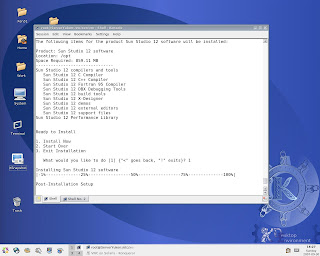
b)Install Sun Studio 12 C,C++ components to compile TightVNV 1.3.9 source without problems.I used "installer" script . Just fixed one thing:-


Installer script is expecting pl=`uname -i` to return "i86pc",
actually it returns "i86xpv" on Solaris DomU


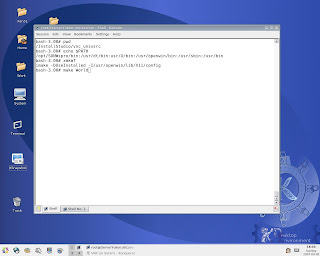
Then take care of PATH environment variable before compiling TightVNC.
If Sun Studio has been installed under /opt :-


# export PATH=/opt/SUNWspro/bin:/usr/dt/bin:usr/X/bin:/usr/openwin/bin:$PATH


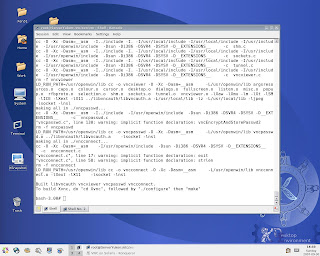
before running "make World" in directory ,where VNC tar file was extracted,then
follow README instructions.


Set up VNC to auto start on boot following [1].
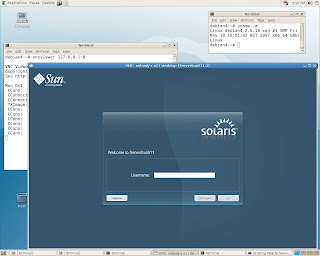
Starting up graphical console :-


1.Bring up Solaris DomU


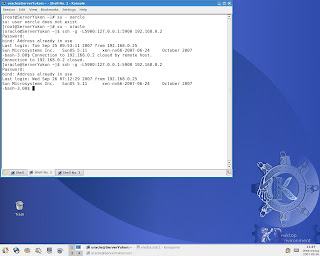
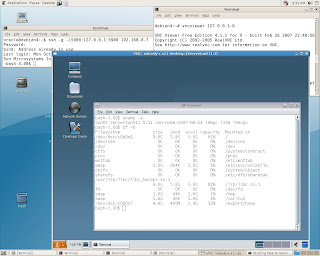
2.Establish SSH connection from Linux Dom0 to Solaris DomU:-


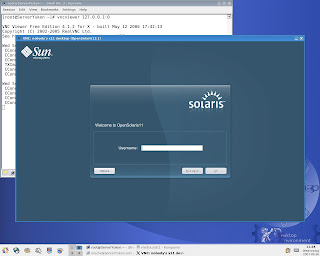
3. Run vncviewer 127.0.0.1:0 from another Linux Dom0 shell:-


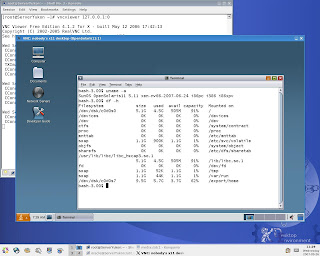
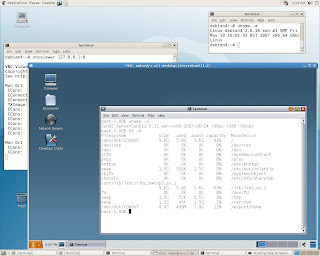
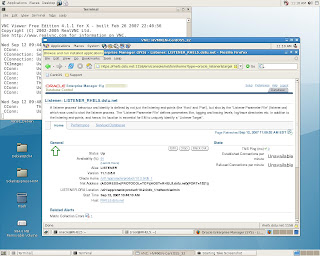
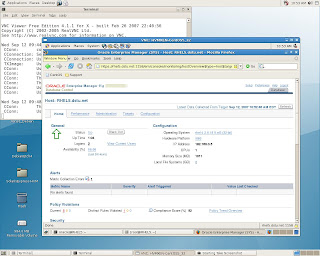
Several snapshots on Debian Etch (x86_64):-


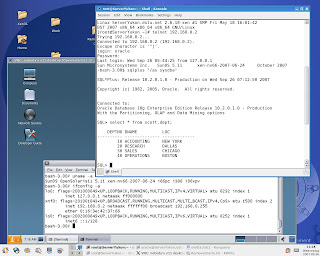
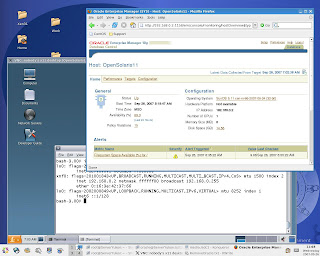
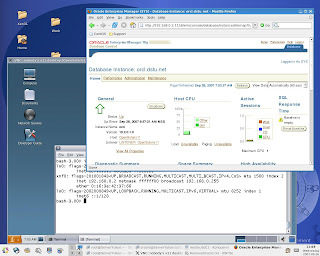
Connecting to Oracle 10g R2 instance running on Solaris DomU from Linux Dom0:-


References.
1.http://www.opensolaris.org/os/community/xen/docs/VncLogin.htm
2.http://lxer.com/module/newswire/view/93016/index.html

Sunday, September 23, 2007


Install Xen 3.1 Solaris DomU (64 bit) at Debian Etch Dom0 (64 bit)


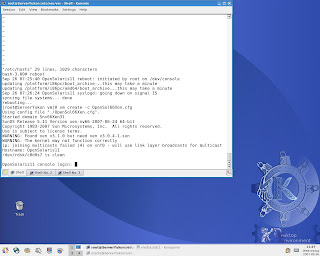
Same behavior as at CentOS 5 Dom0 . Just several snapshots:-


Thursday, September 20, 2007


Install Xen 3.1 Solaris domU (64 bit) under CentOS 5 dom0 (64 bit)


In general installation bellow went the same way as [1]. However, several things
happened different from described in [1].
1. Installation didn't hang all way through.
2. To preserve "bootadm update-archive -R /a" work I had to force unmount /a


Original profile to create Solaris DomU :-


Start Solaris domU creating :-


# xm create -c OpenSol66Xen.cfg


It's important to select "Manual Reboot" :-


Full install has been selected:-


Installer never hanged during package installation phase,compare with [1] :-


Now drop to shell :-


Fixing problem with the OpenSolaris kernel not generating checksums for TCP and UDP packets.


Adding "set xnf:xnf_cksum_offload = 0" to /a/etc/system :-


Run "bootadm update-archive -R /a" and copy boot_archive to dom0 :-


Check file boot_archive in dom0:-


Unmount /a to be able shutdown Solaris domU :-


Now shutdown Solaris domU :-


Runtime profile for Solaris domU:-


Starting up Solaris PVM :-


# xm create -c OpenSol66Xen.cfg


SSH connection to Solaris domU :-


Install Xen 3.1 Solaris DomU (64 bit) at Debian Etch Dom0 (64 bit)


References
1.OpenSolaris Xen domU
2Xen 3.1 Binary installation on CentOS 5.0 & ASUS P5B Deluxe

Wednesday, September 12, 2007


Oracle 11g on HVM VM (CentOS 5) under Xen 3.1 on Debian Etch (x86_64)


Installation has been done to evaluate HVM VM performance. CentOS 5 VM
has been tuned exactly as advised in [1]. 1 GB memory was allocated for VM
and it was installed on 16 GB partition (/dev/sdbX) of SATA HDD Seagate
Barracuda 160 GB
Hardware been used:-
CPU: Core 2 Duo E6600
Board: ASUS P5B Deluxe
RAM: 2 GB (Kingston non ECC)
Overall OUI speed as well as Oracle 11g database I/O performance looks significantly better
compare with same tasks performed on CentOS 5 VM under VMWare Server 1.0.3.
Timer may be viewed in right upper corner of Debian screen.


Installation screenshots:-


Runtime screenshots:-


Version OC4J to run EM console 11g :-


Login Screen :-


Listener status:-


OS detection :-


Hardware detection:-


Database files: -


Performing SQL query :-


Oracle 11g instance start/stop benchmarking:-


References


1. Oracle Database 11g Release 1 (11.1) Installation On Enterprise Linux 4.5 and 5.0